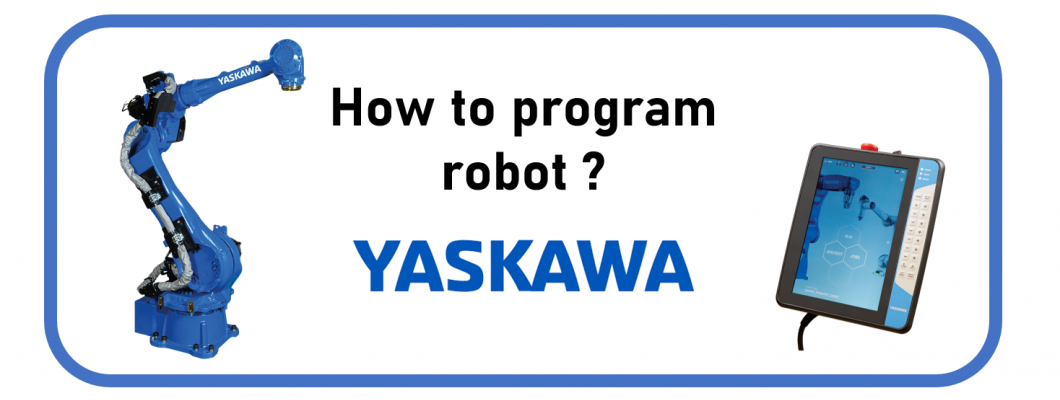
Programming a Yaskawa robot involves several steps and depends on the specific model and the tasks you want to perform. Here's a general guide to get you started:
1. Understand the Basics
Familiarize with the Robot: Read the user manual and safety guidelines for your specific Yaskawa robot model.
Understand the Programming Environment: Yaskawa robots are typically programmed using the MotoPlus SDK for advanced applications or the INFORM language via the teach pendant for simpler tasks.
2. Setting Up the Robot
Install the Robot: Physically set up the robot according to the manufacturer’s instructions.
Connect to the Controller: Connect the robot to its controller and ensure all connections (power, data, etc.) are secure.
3. Using the Teach Pendant
The teach pendant is a handheld device that allows you to program and control the robot.
Basic Steps:
Power On: Turn on the robot and the teach pendant.
Select Mode: Switch to the appropriate mode (usually Teach mode) to allow programming.
Move the Robot: Use the jog buttons to manually move the robot to desired positions.
Record Positions: Teach the robot by moving it to each position and recording these positions.
Create a Program:
Navigate to the programming menu on the teach pendant.
Add a new program and start defining steps (moves, waits, IO commands, etc.).
Save and Test: Save the program and test it in a safe, controlled manner.
4. INFORM Programming Language
INFORM is Yaskawa's proprietary language for robot programming.
Basic INFORM Commands:
MOVJ (Move Joint): Moves the robot to a specified position in joint space.
MOVL (Move Linear): Moves the robot in a straight line to a specified position.
DOUT (Digital Output): Sets a digital output signal.
WAIT: Waits for a specified condition (e.g., time, input signal).
Example Program:
MOVJ VJ=50.00 PL=0 (Move robot in joint space with velocity 50%) MOVL V=200.0 PL=0 (Move robot linearly with velocity 200mm/s) DOUT OT#(1) ON (Turn on digital output 1) WAIT 1.0 (Wait for 1 second) DOUT OT#(1) OFF (Turn off digital output 1)
5. Advanced Programming with MotoPlus
MotoPlus allows for more complex and customized applications using C/C++.
Steps:
Install MotoPlus SDK: Obtain and install the MotoPlus SDK from Yaskawa.
Develop Application:
Write your application code in C/C++ using the MotoPlus API.
Compile the code to generate a binary executable.
Upload to Controller:
Transfer the compiled program to the robot controller.
Run the program and monitor its execution.
6. Simulation and Offline Programming
Use Software Tools: Yaskawa provides software like MotoSim for offline programming and simulation.
Test Programs: Simulate the robot's movements and programs in a virtual environment before deploying them on the actual robot.
7. Safety and Troubleshooting
Safety First: Always follow safety protocols to prevent accidents.
Monitor and Debug: Use diagnostic tools and logs to troubleshoot issues.
8. Continuous Learning
Training: Attend Yaskawa training sessions and workshops.
Community and Support: Engage with the Yaskawa community and support channels for help and updates.
By following these steps and utilizing the appropriate tools and resources, you can effectively program a Yaskawa robot to perform various tasks
